
Sweet Eat
Back to recipes
Whole dish
One whole bake — a loaf, a cake or a jar. Slice it at the table.
Puddings & baking

Kiev cake — the home version

Kiev cake — the home version — Natalia's home recipe, with the list and the method.

Kiev cake — the home version
The film for this recipe is not on the channel yet

When the film is on the channel, the player will appear here.

Ingredients

  • Per layer:
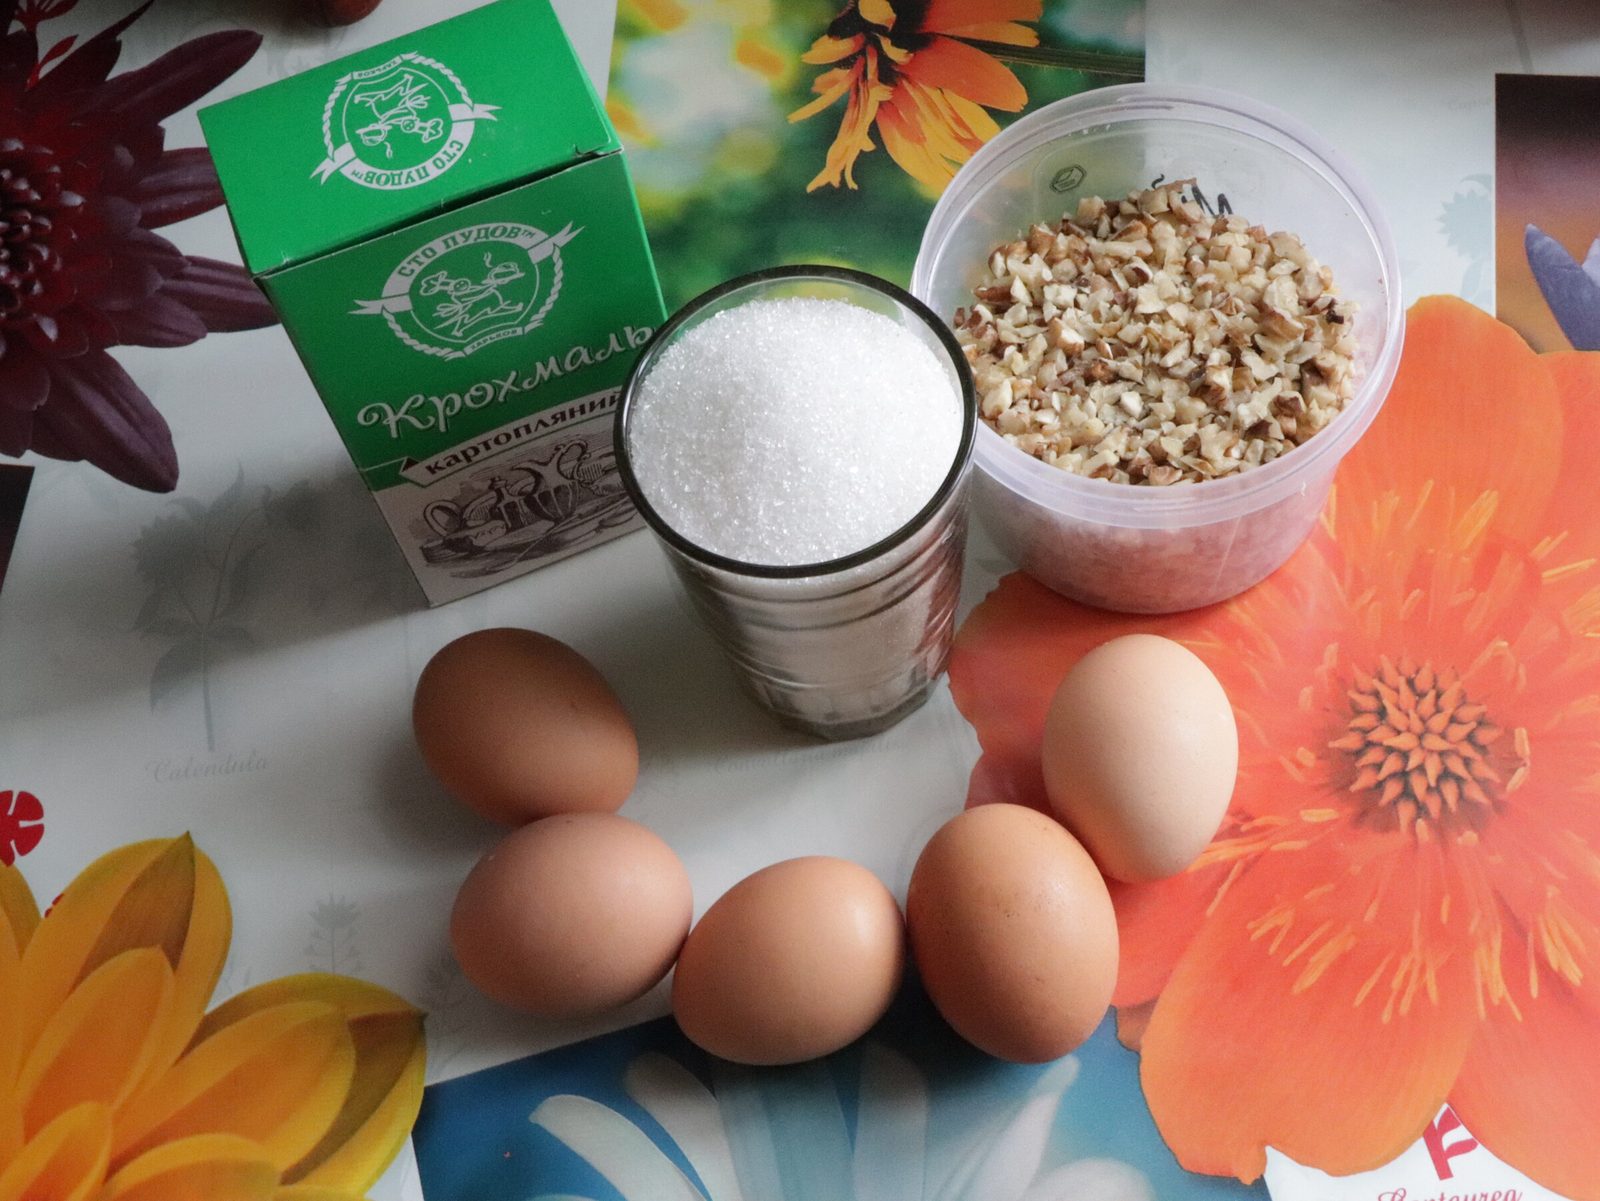
  • egg white – 5 pcs
  • sugar – 1 glass
  • walnuts – 1 glass
  • potato starch – 1tbsp
  • Cream:
  • egg yolks – 10 pcs
  • sugar – 1 glass
  • butter – 300 g
  • condensed milk – 300 g
  • cocoa – 4 tbsp

Method

  1. Step 1

    I offer you my recipe for Kyiv cake, which all my friends adore. It is incredibly tender and airy, and the cream just melts in your mouth!

  2. Step 2

    This recipe has been passed down in our family for generations, but not everyone can make this cake.

  3. Step 3

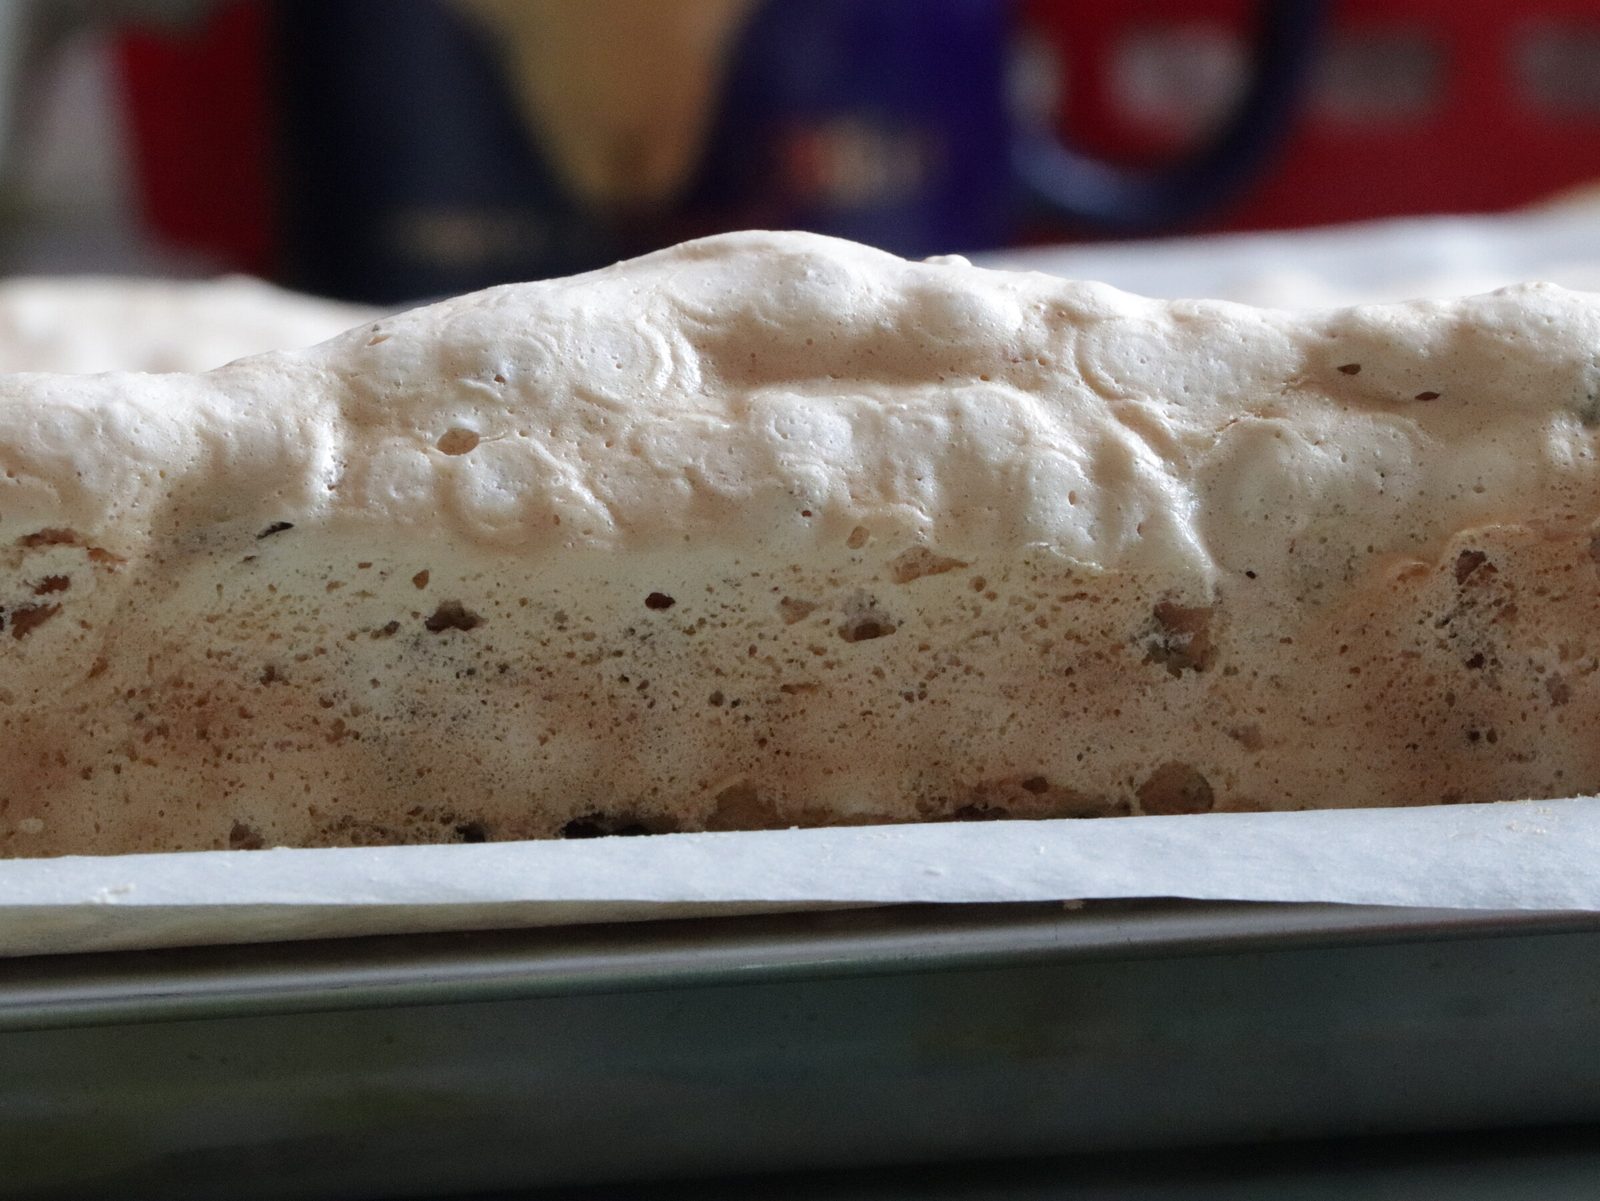
    Let's start by baking the cakes. We will need 2 of them. Before we start whisking, we need to prepare the nuts. They need to be cut with a knife, add 1 tablespoon of starch to the nuts and mix. Set aside.

  4. Step 4

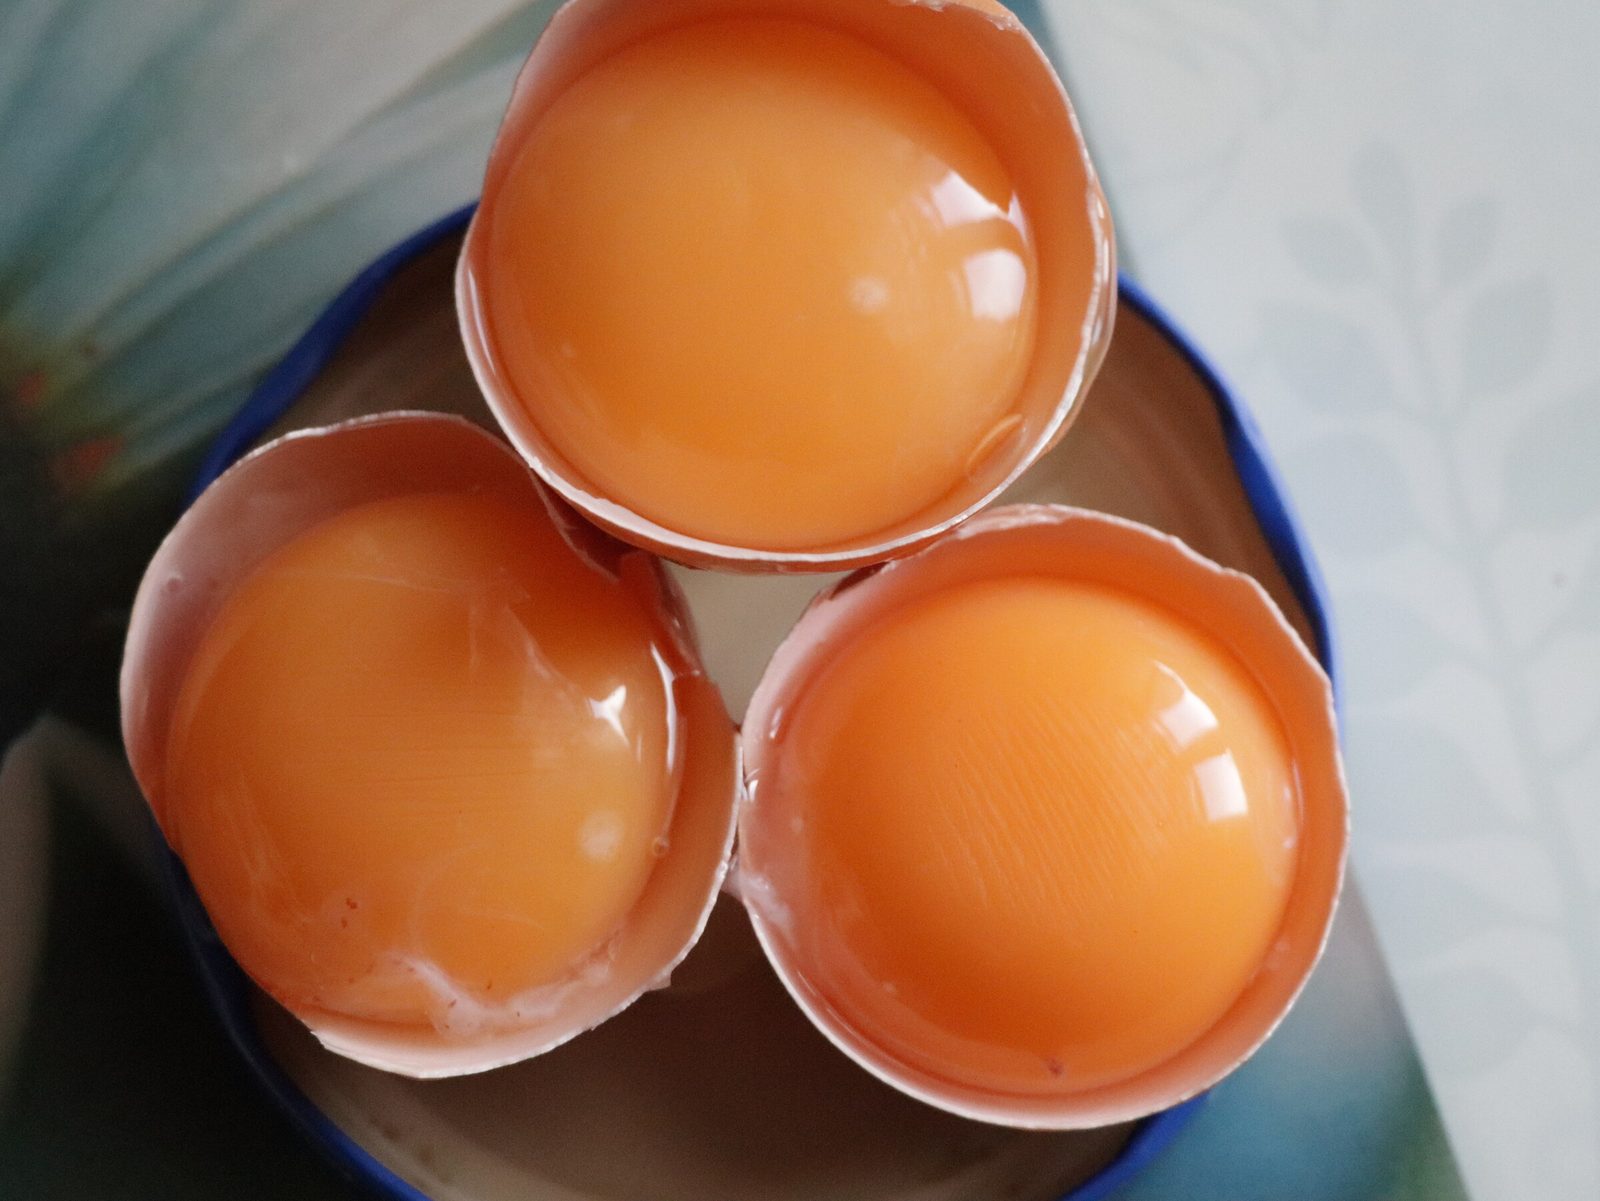
    Next, separate the whites from the yolks. Eggs must be chilled.

  5. Step 5

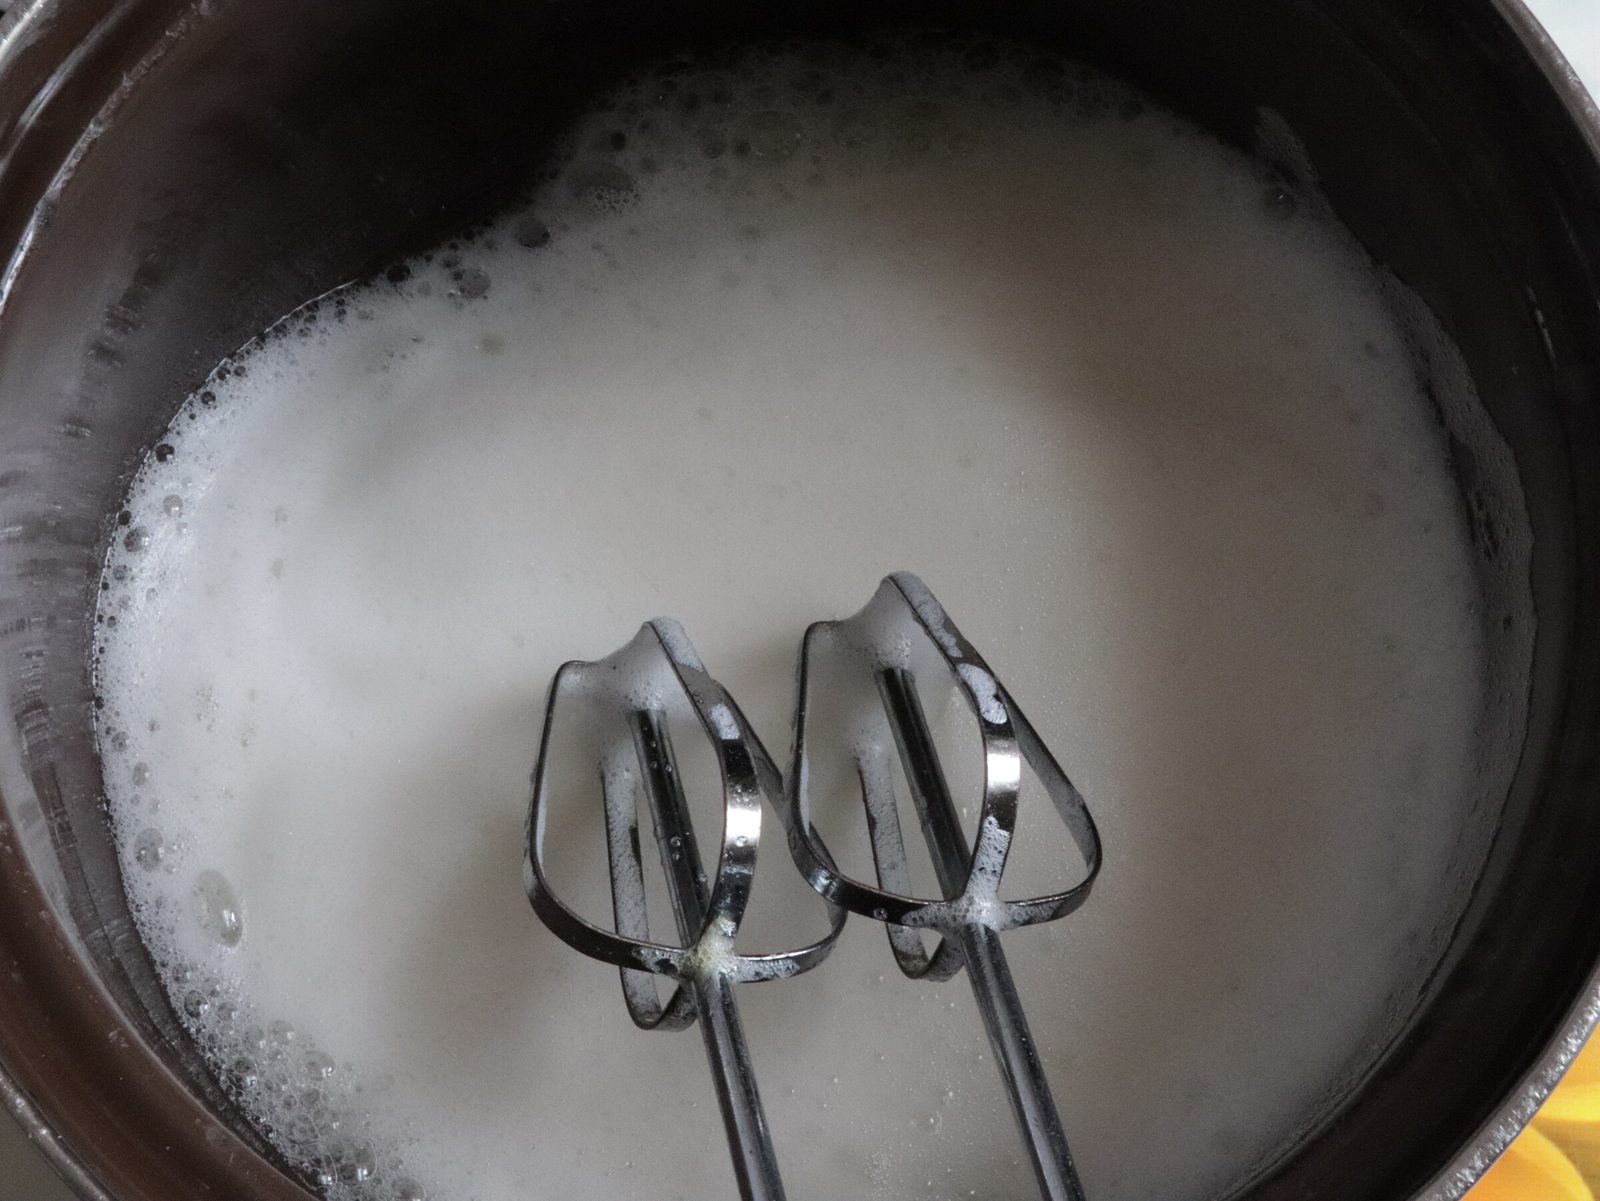
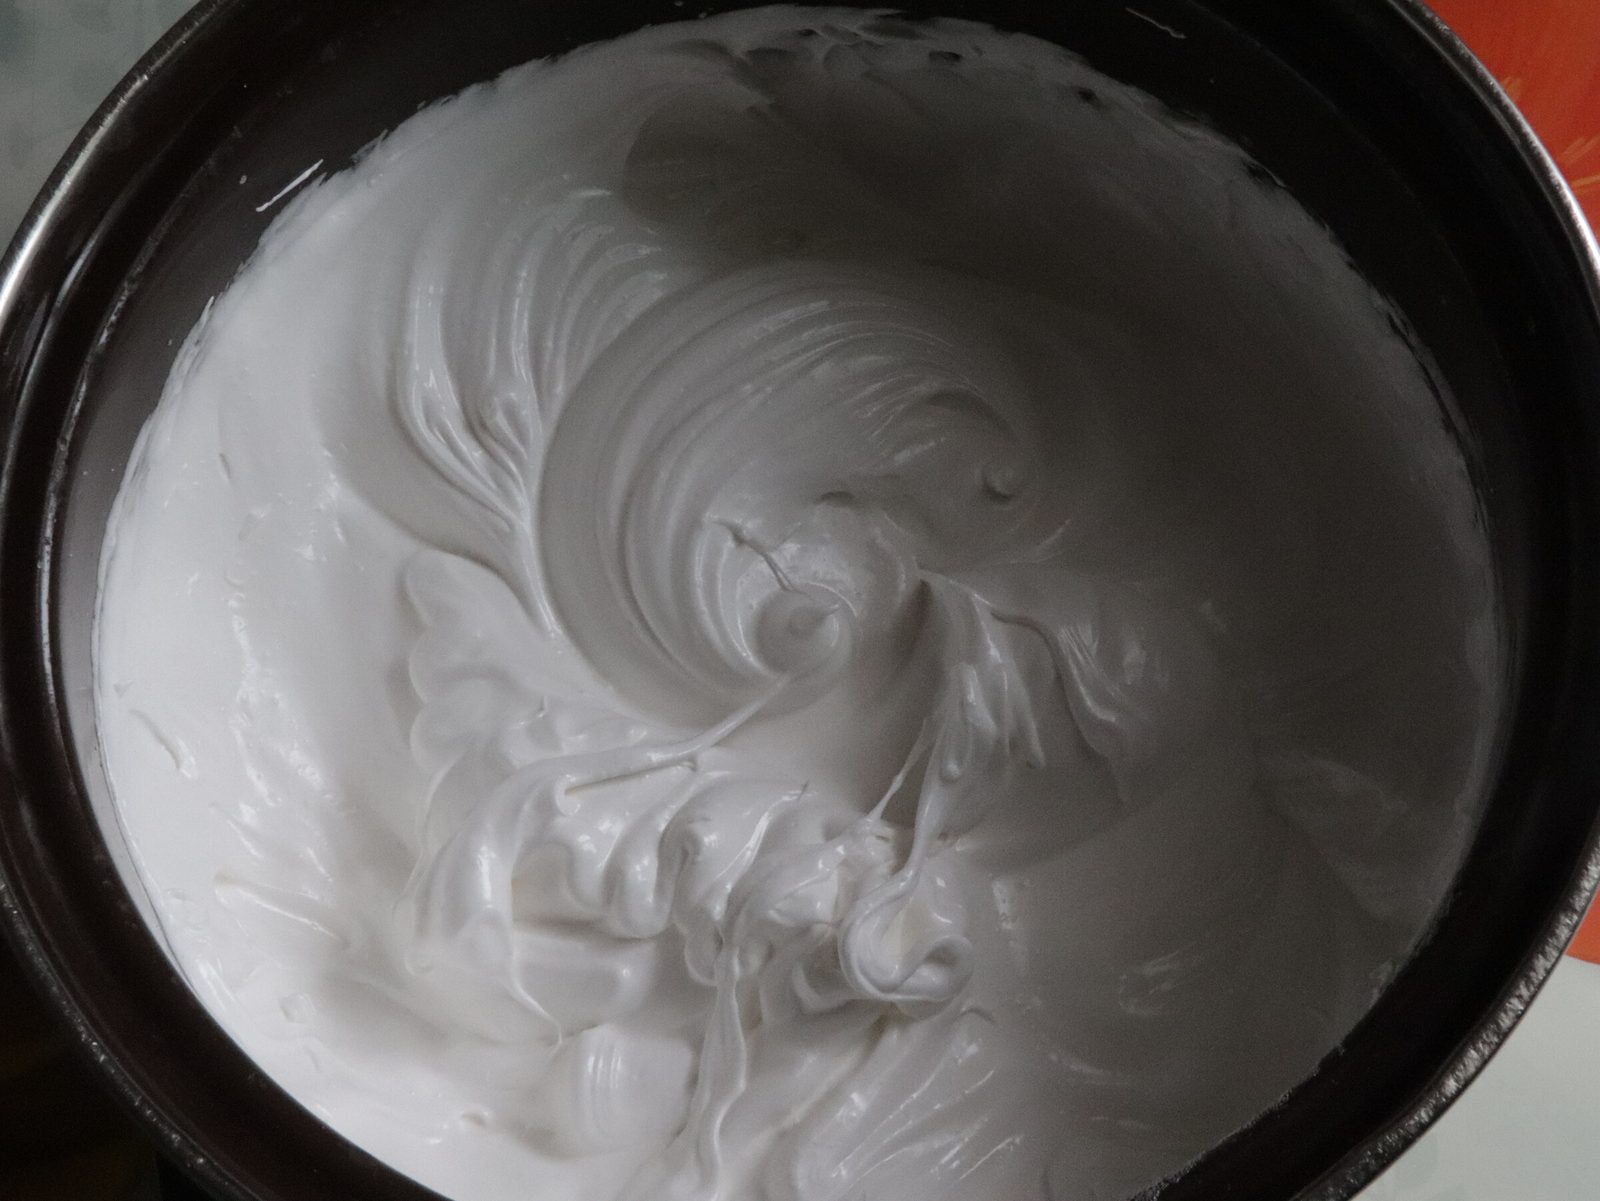
    Place the whites in a whipping container - I use an enamel pan. I beat with a regular mixer. First, beat the whites into a foam at medium speed, then add sugar and beat at maximum speed until the whites hold their shape and do not flow from the whisk (if the pattern from the whisks does not disappear during whipping, this is the first sign that the whites are whipped).

  6. Step 6

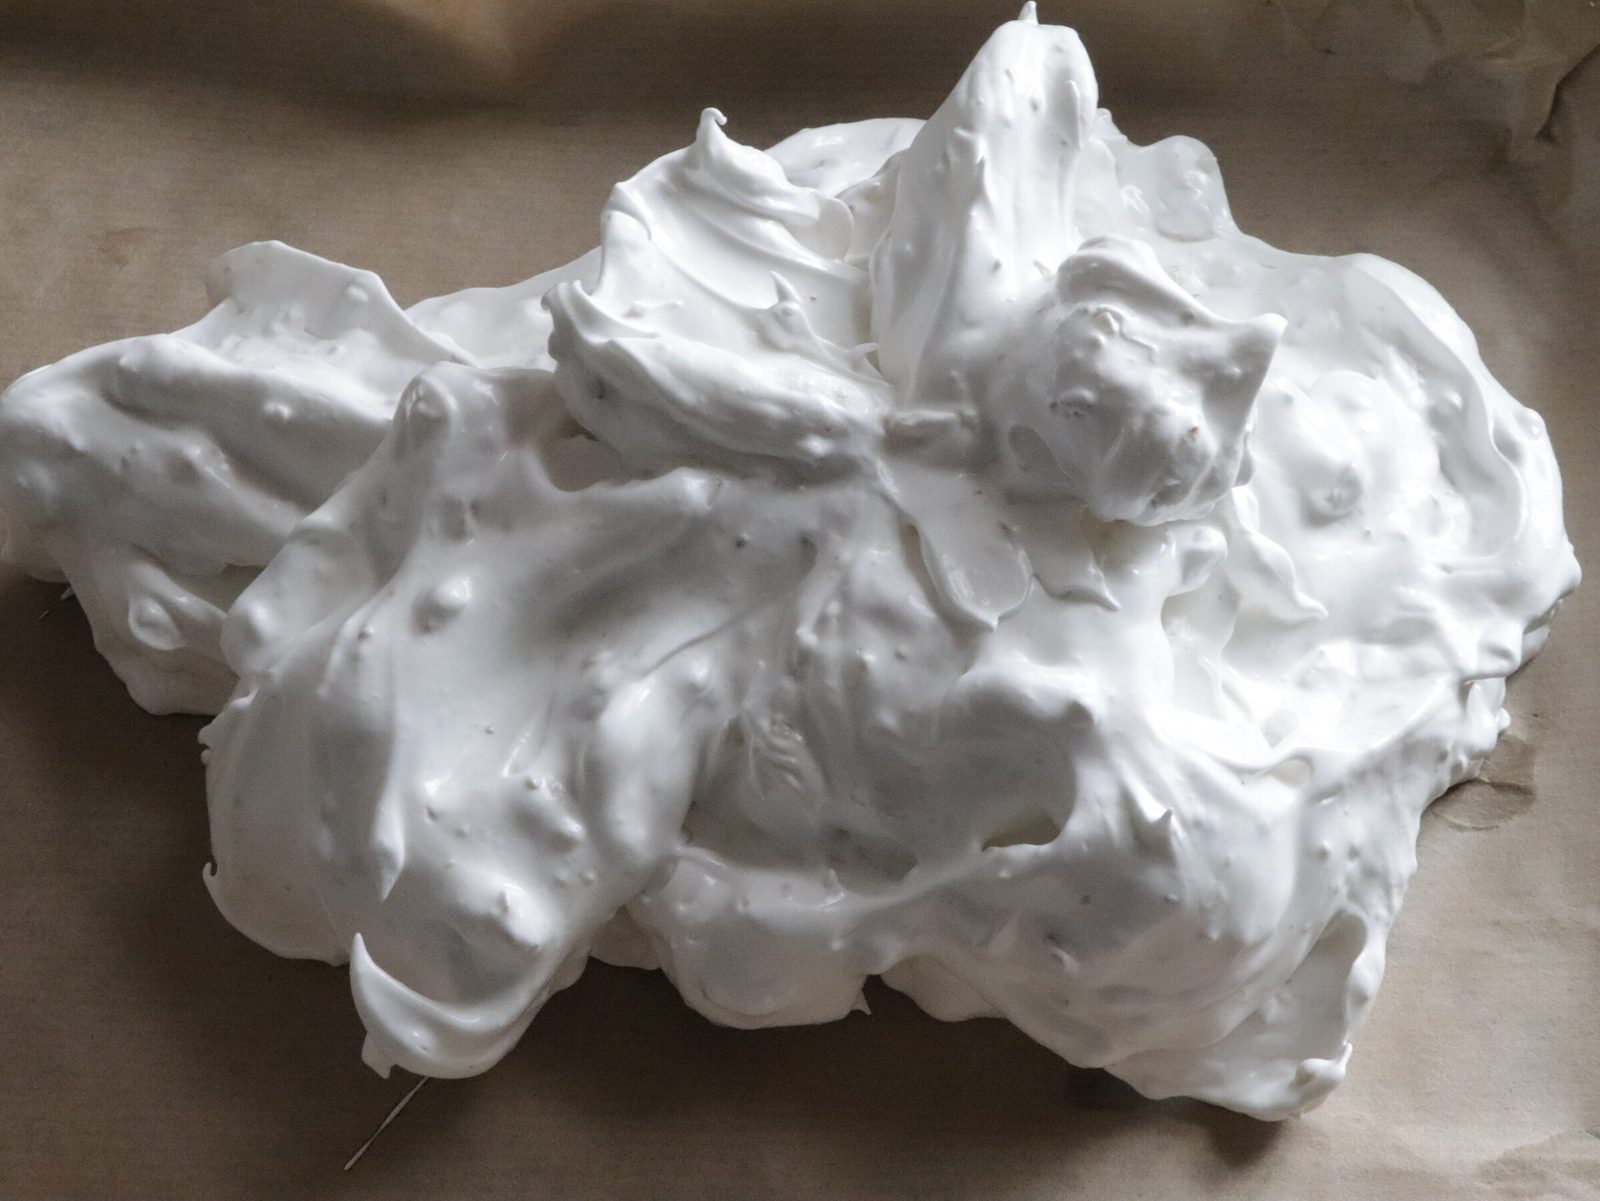
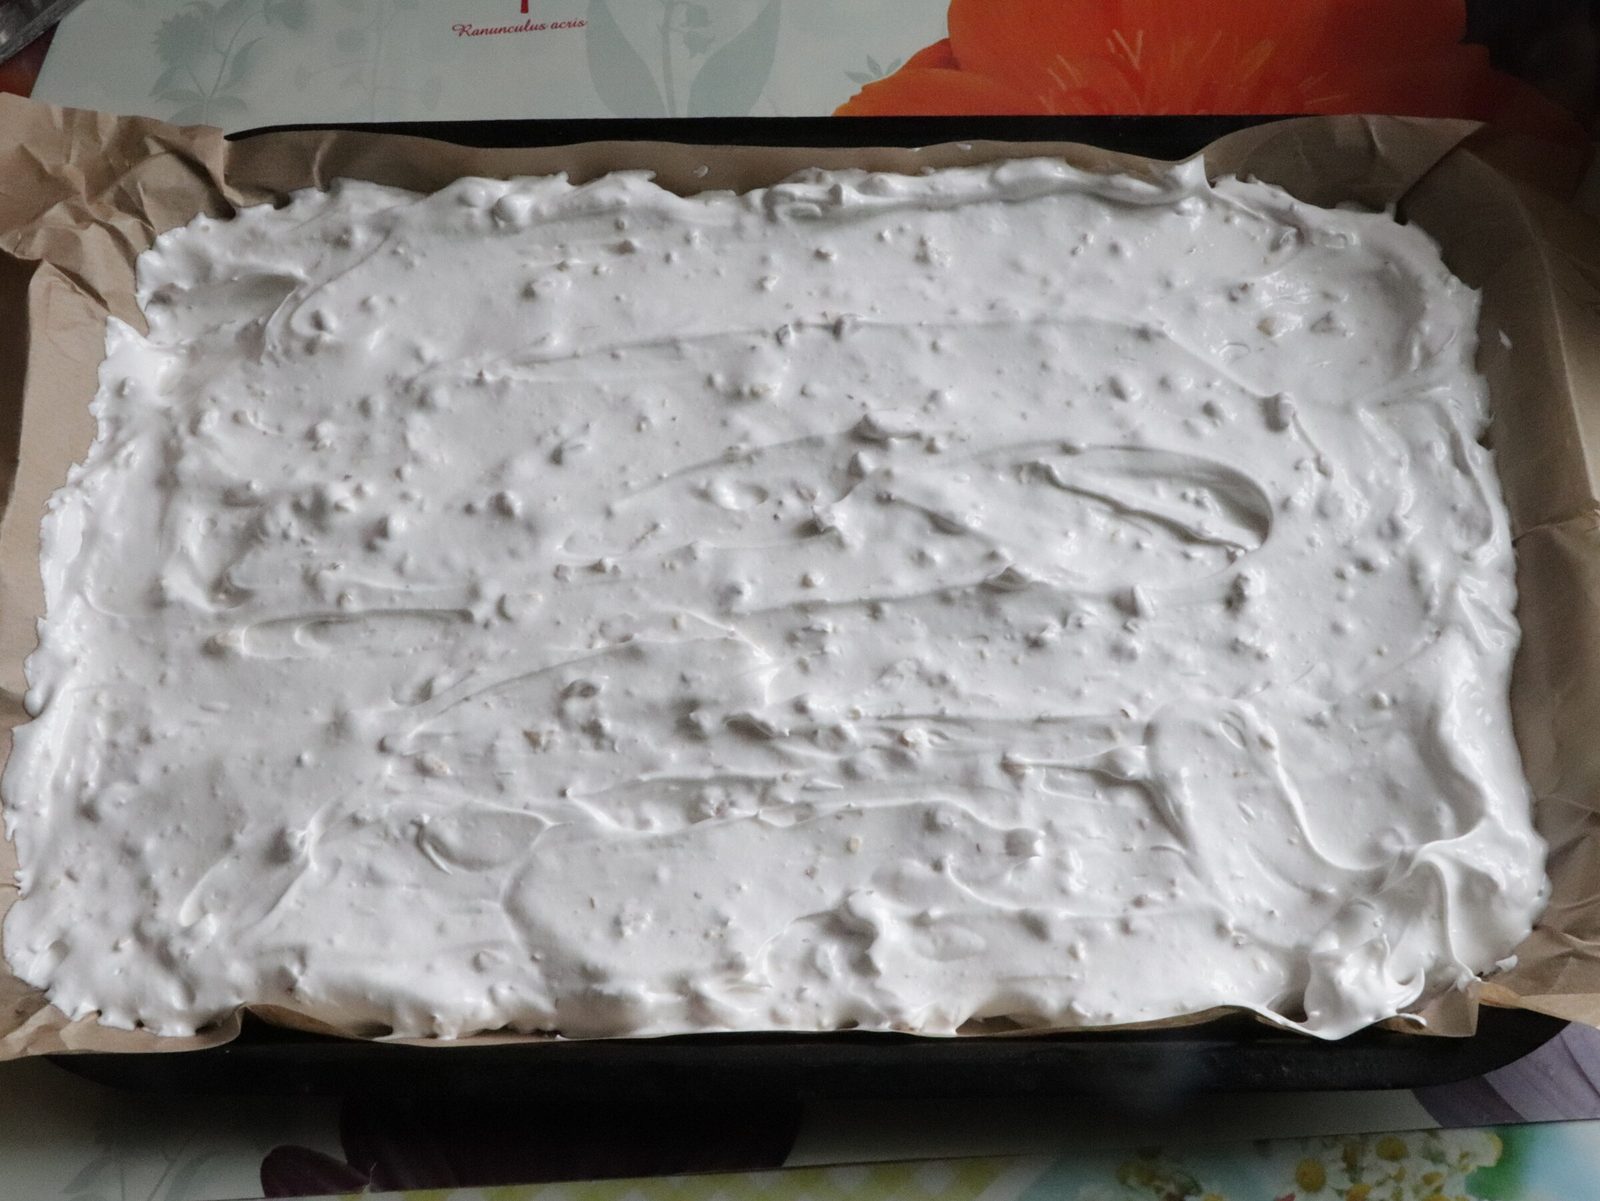
    Add chopped nuts with starch to the whipped whites and mix gently with a spoon or spatula. Very carefully place it on a baking tray, previously covered with parchment, and smooth it out a little.

  7. Step 7

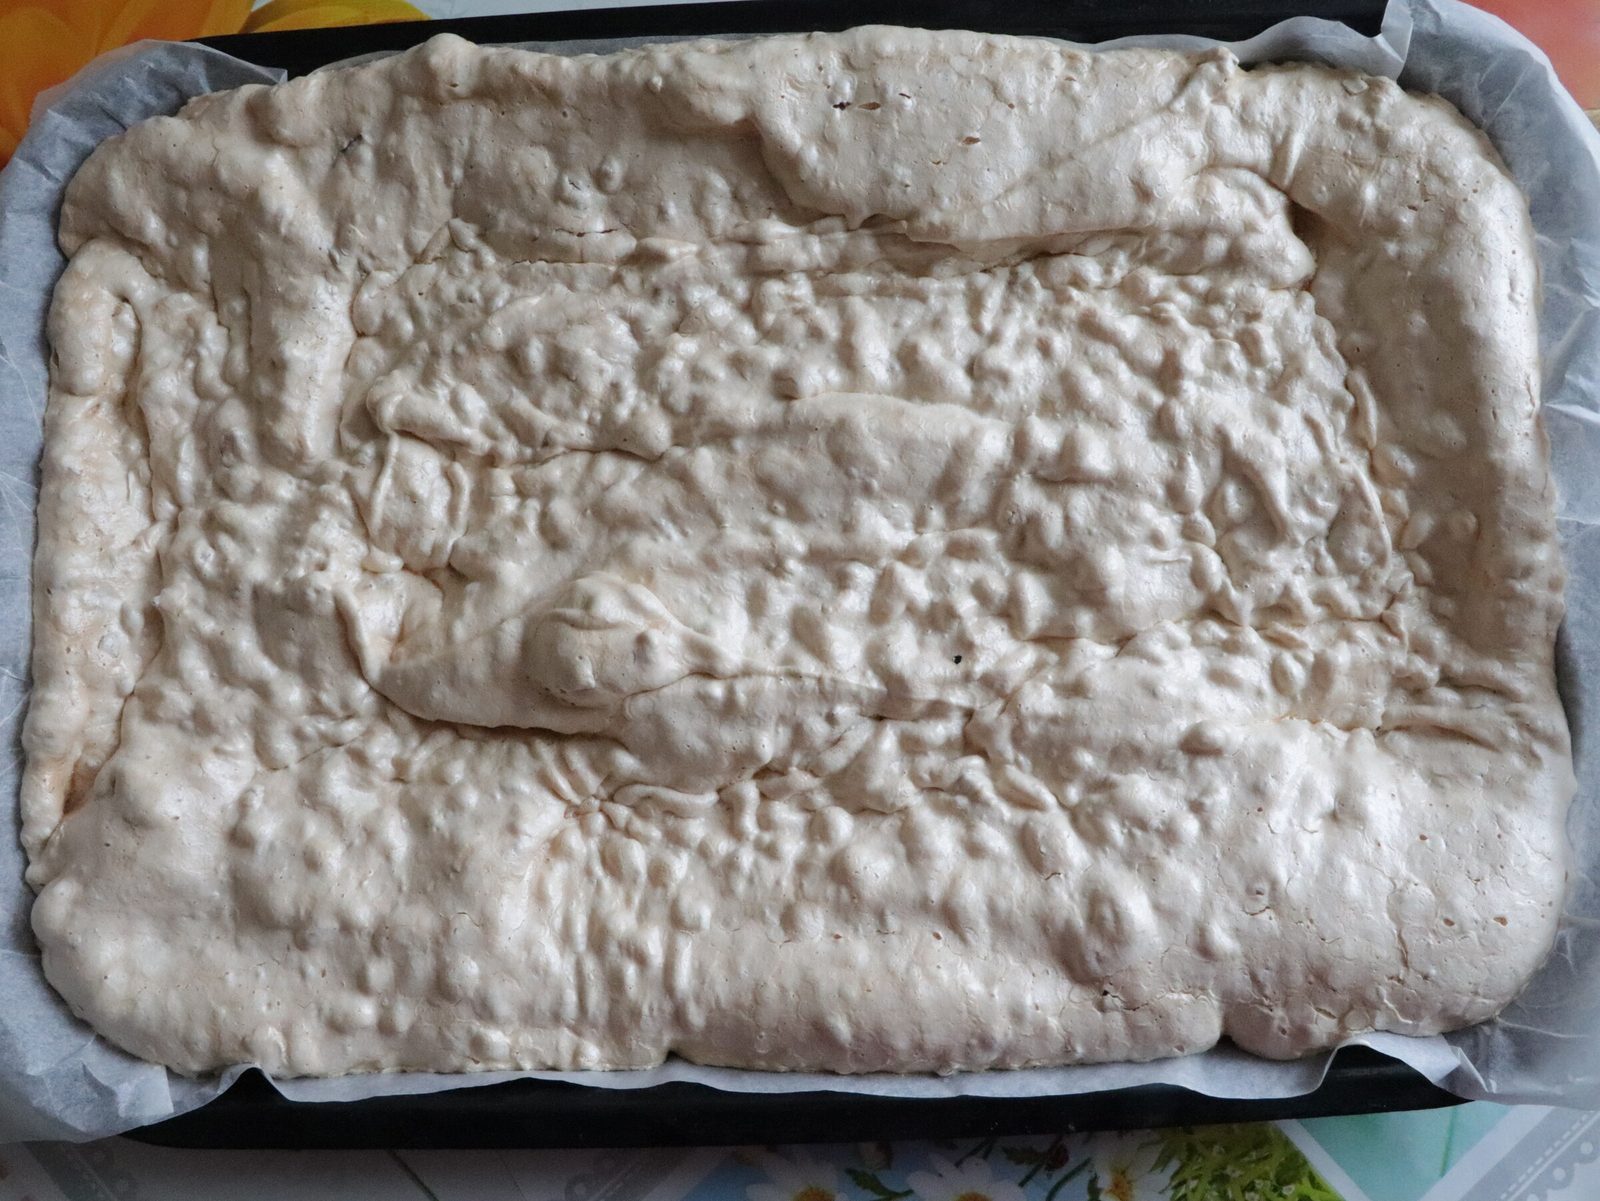
    The cake needs to be baked for a long time – 2 hours. Preheat the oven to 150° and bake for 1 hour, then reduce to 120° and bake for another 1 hour. The cake should dry well. Do not open the oven door at all for the first hour, otherwise the egg whites may fall out. We bake the second cake in the same way. I used a baking tray measuring 36x25 cm.

  8. Step 8

    !!! It is imperative that the container in which the whites will be beaten must be fat-free and dry, and to be sure, I always “wipe” the walls of the pan and the whisk with a slice of lemon - it perfectly degreases the dishes and the whites whip much faster! We will whip the cream in 3 stages:

  9. Step 9

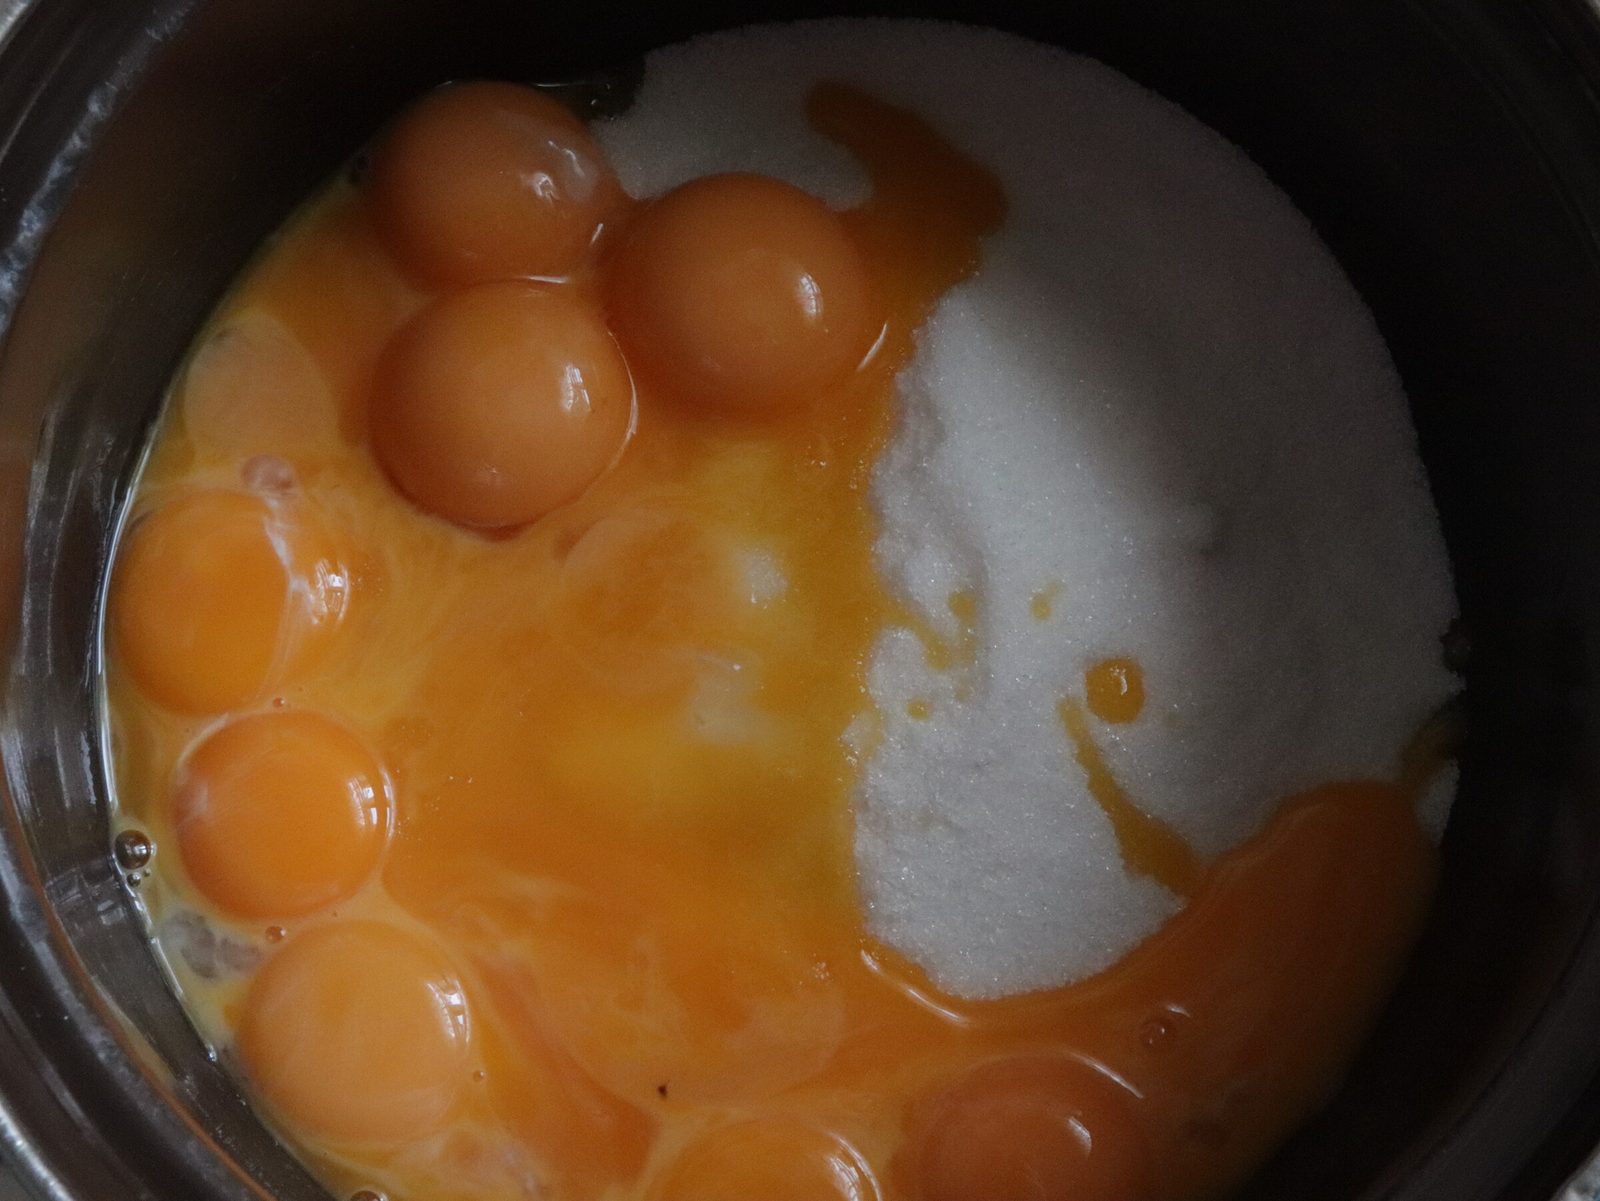
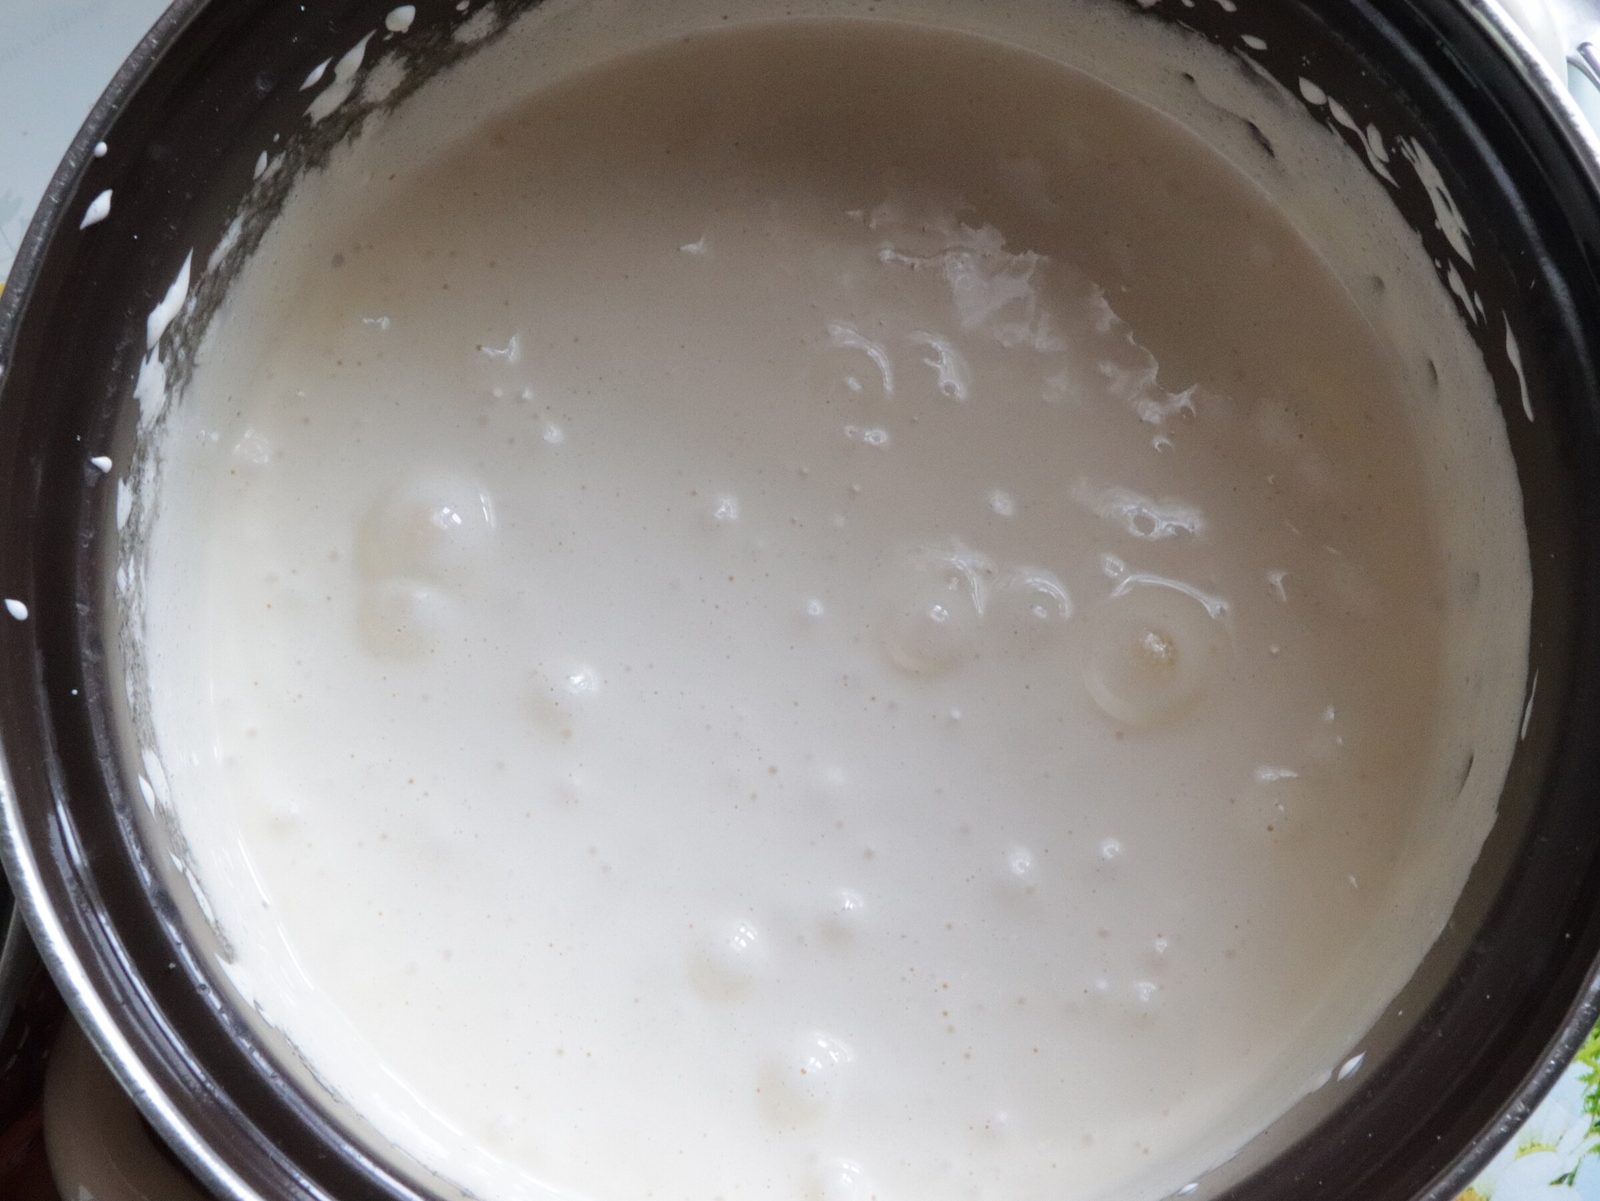
    1. Pour the cooled yolks into a low-fat container and add 1 cup of sugar and beat until thick foam. The sugar should dissolve and the yolks should thicken and turn white.

  10. Step 10

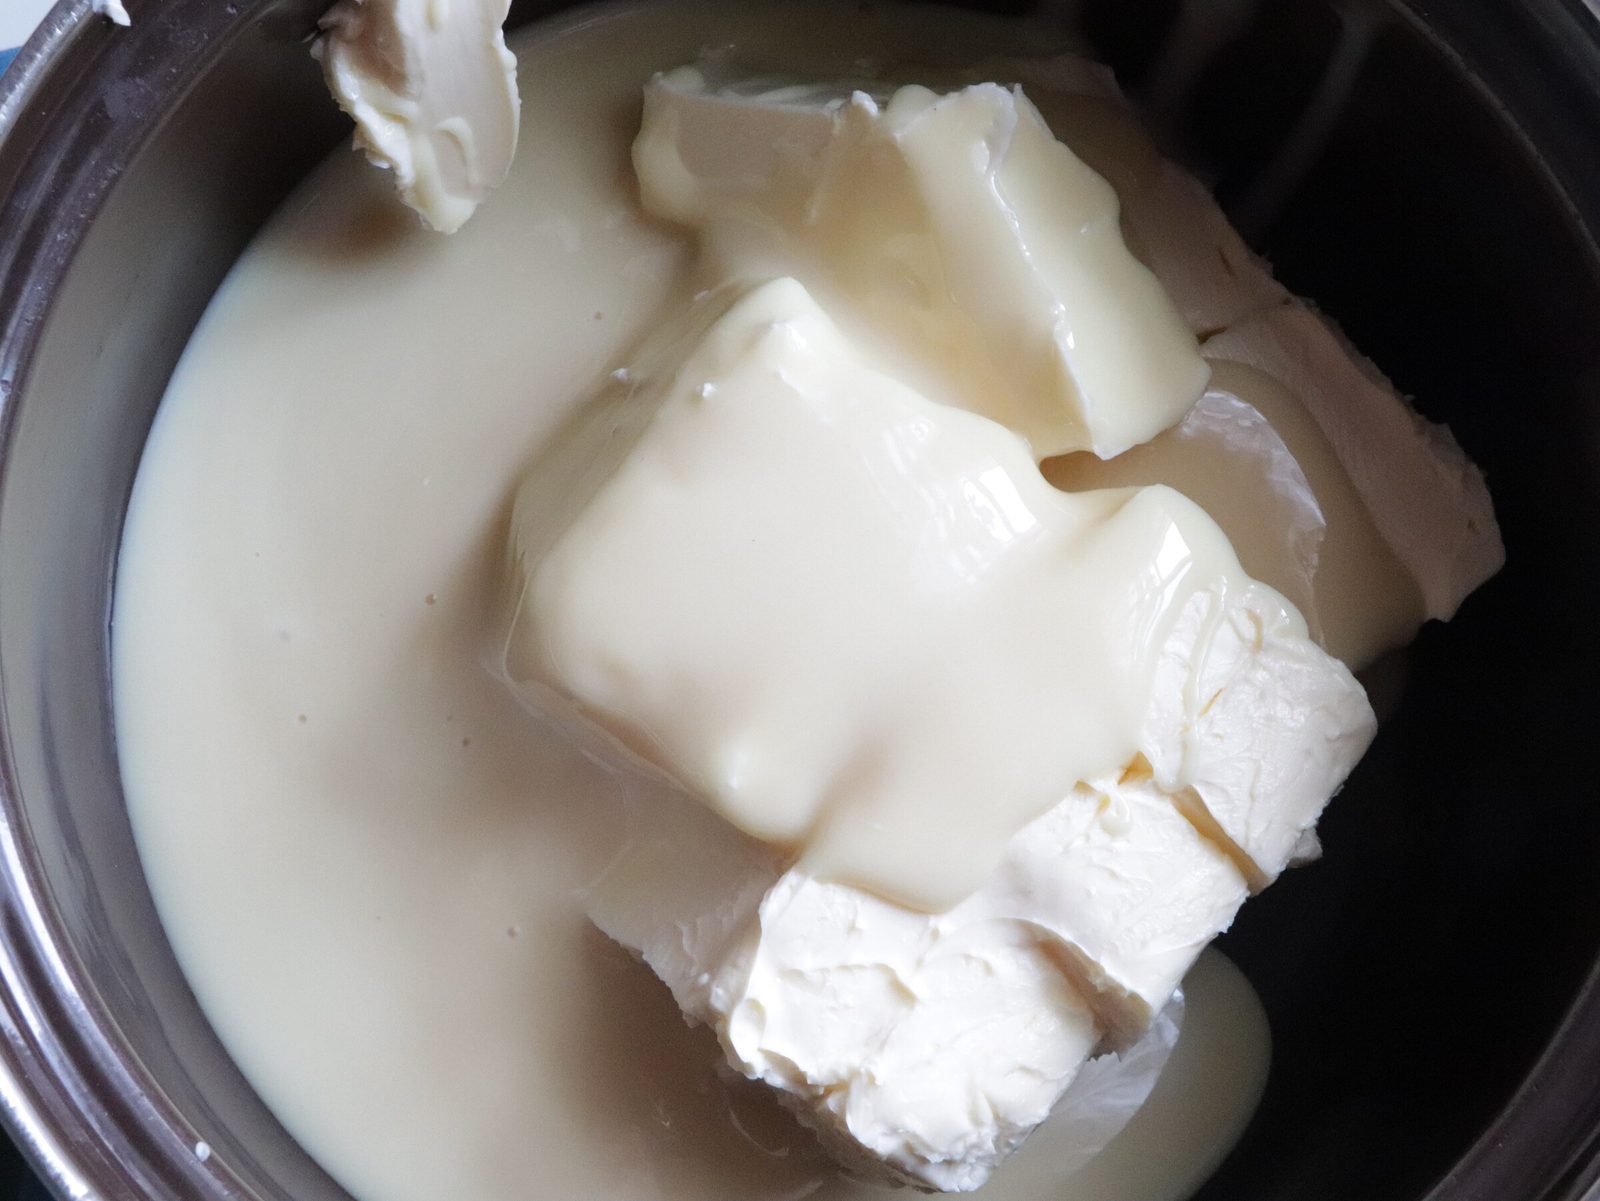
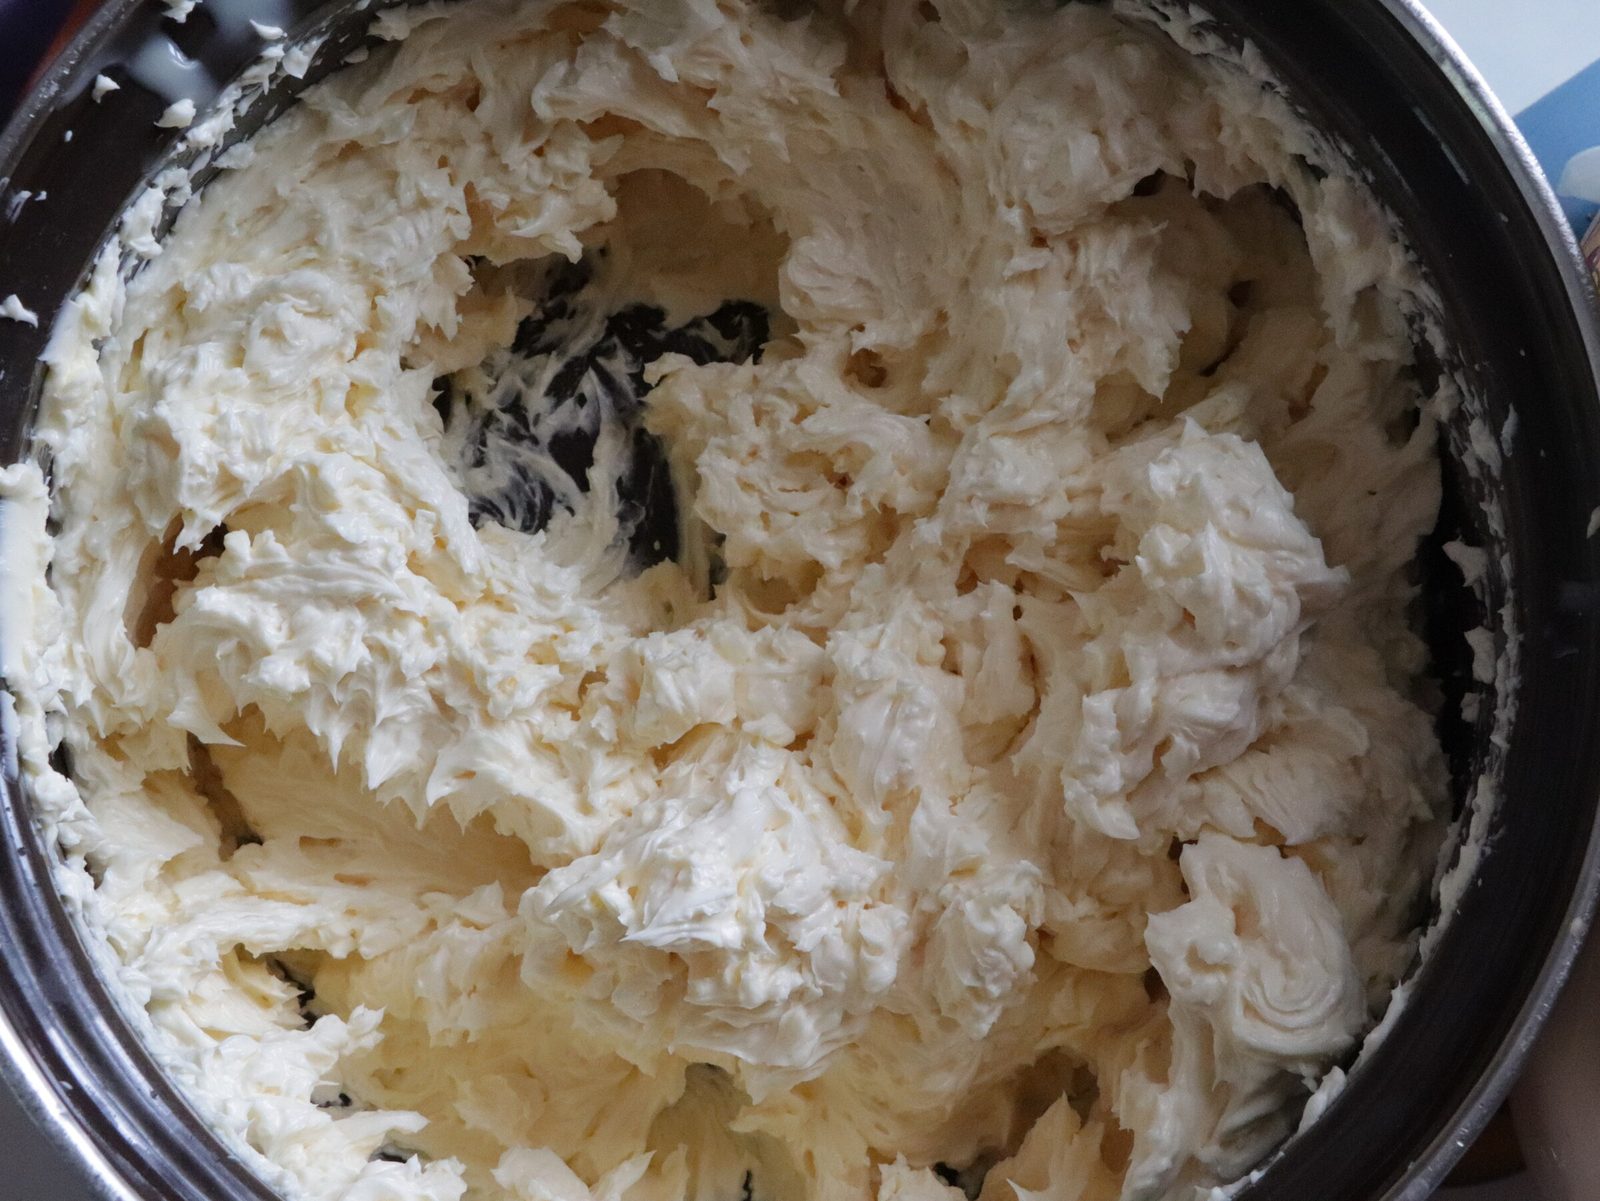
    In a separate bowl, beat the butter, previously softened to room temperature, with condensed milk. It is better to take the butter out of the refrigerator, cut it into pieces and leave it overnight, under no circumstances heating it. It should be soft, not liquid!

  11. Step 11

    Add the whipped butter to the whipped yolks, pour in the cocoa and beat everything at low speed until smooth so that the cocoa does not scatter. To make the colour richer, you can add more cocoa. Cocoa should not be used for baking, but natural cocoa - at least 70%.

  12. Step 12

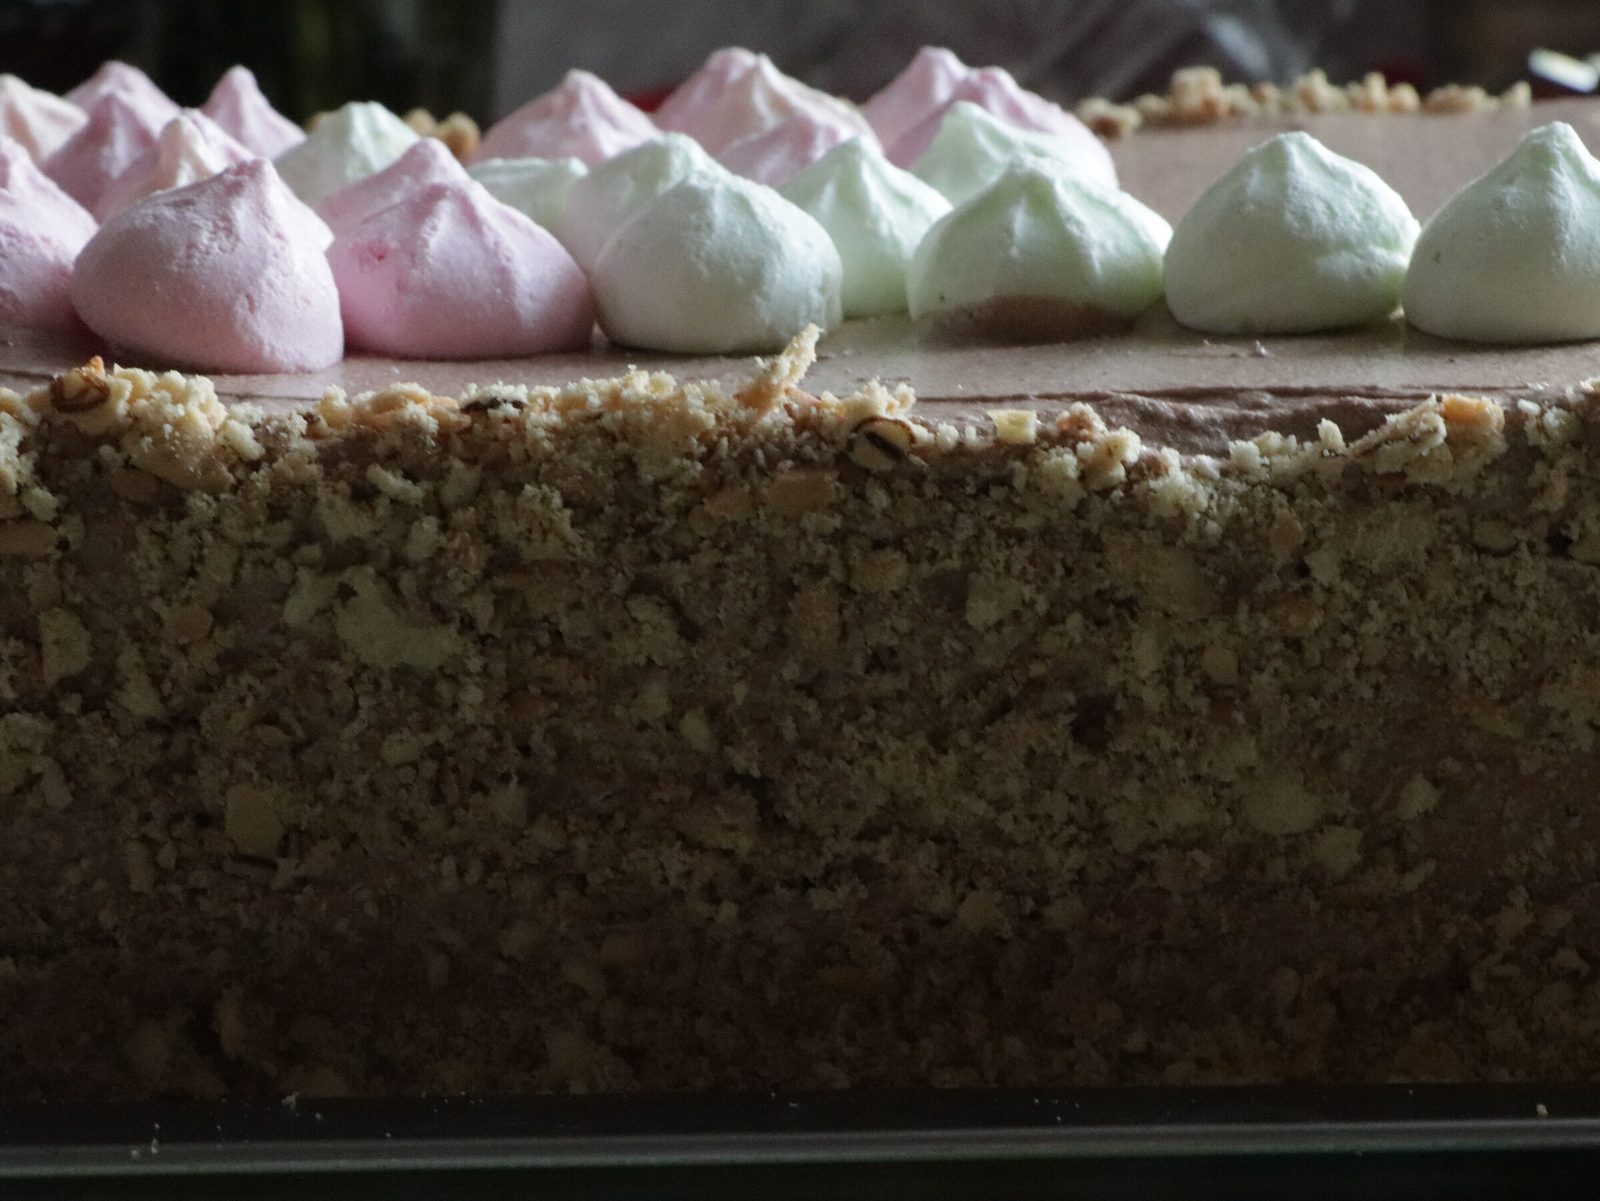
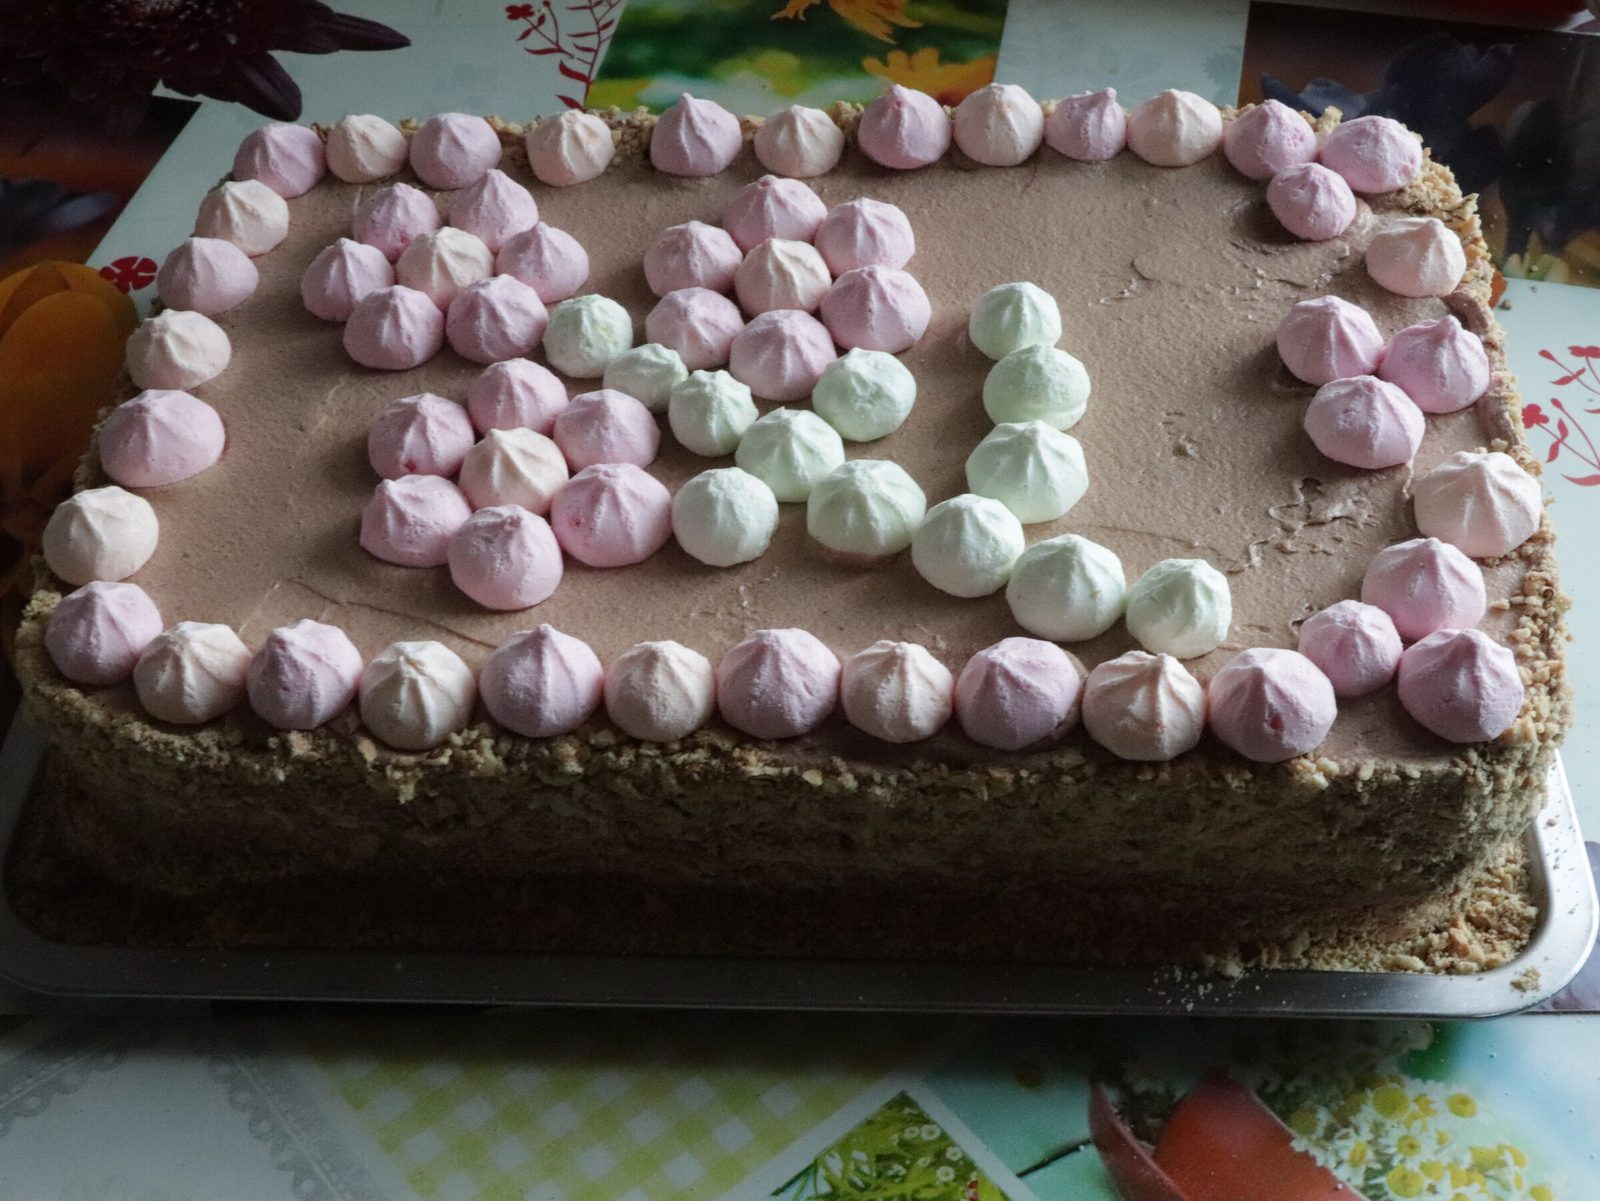
    When the cakes and cream are ready, all that remains is assembly and decoration. We place the first cake as it was baked on a baking tray. Lubricate with cream. We place the second cake upside down, so the top will be perfectly smooth, and all the unevenness inside will be hidden by the cream. Grease with cream and decorate. We don’t skimp on the cream, it’s quite enough for 2 layers, so we apply a layer of about 1 cm.

  13. Step 13

    I sprinkled the sides of the cake with biscuit crumbs and used meringue for decoration. Place the finished cake in the refrigerator for 1 hour.

Comments are closed on the site for now, so nothing is lost in the browser. Write to us through Your recipe.

You may also like